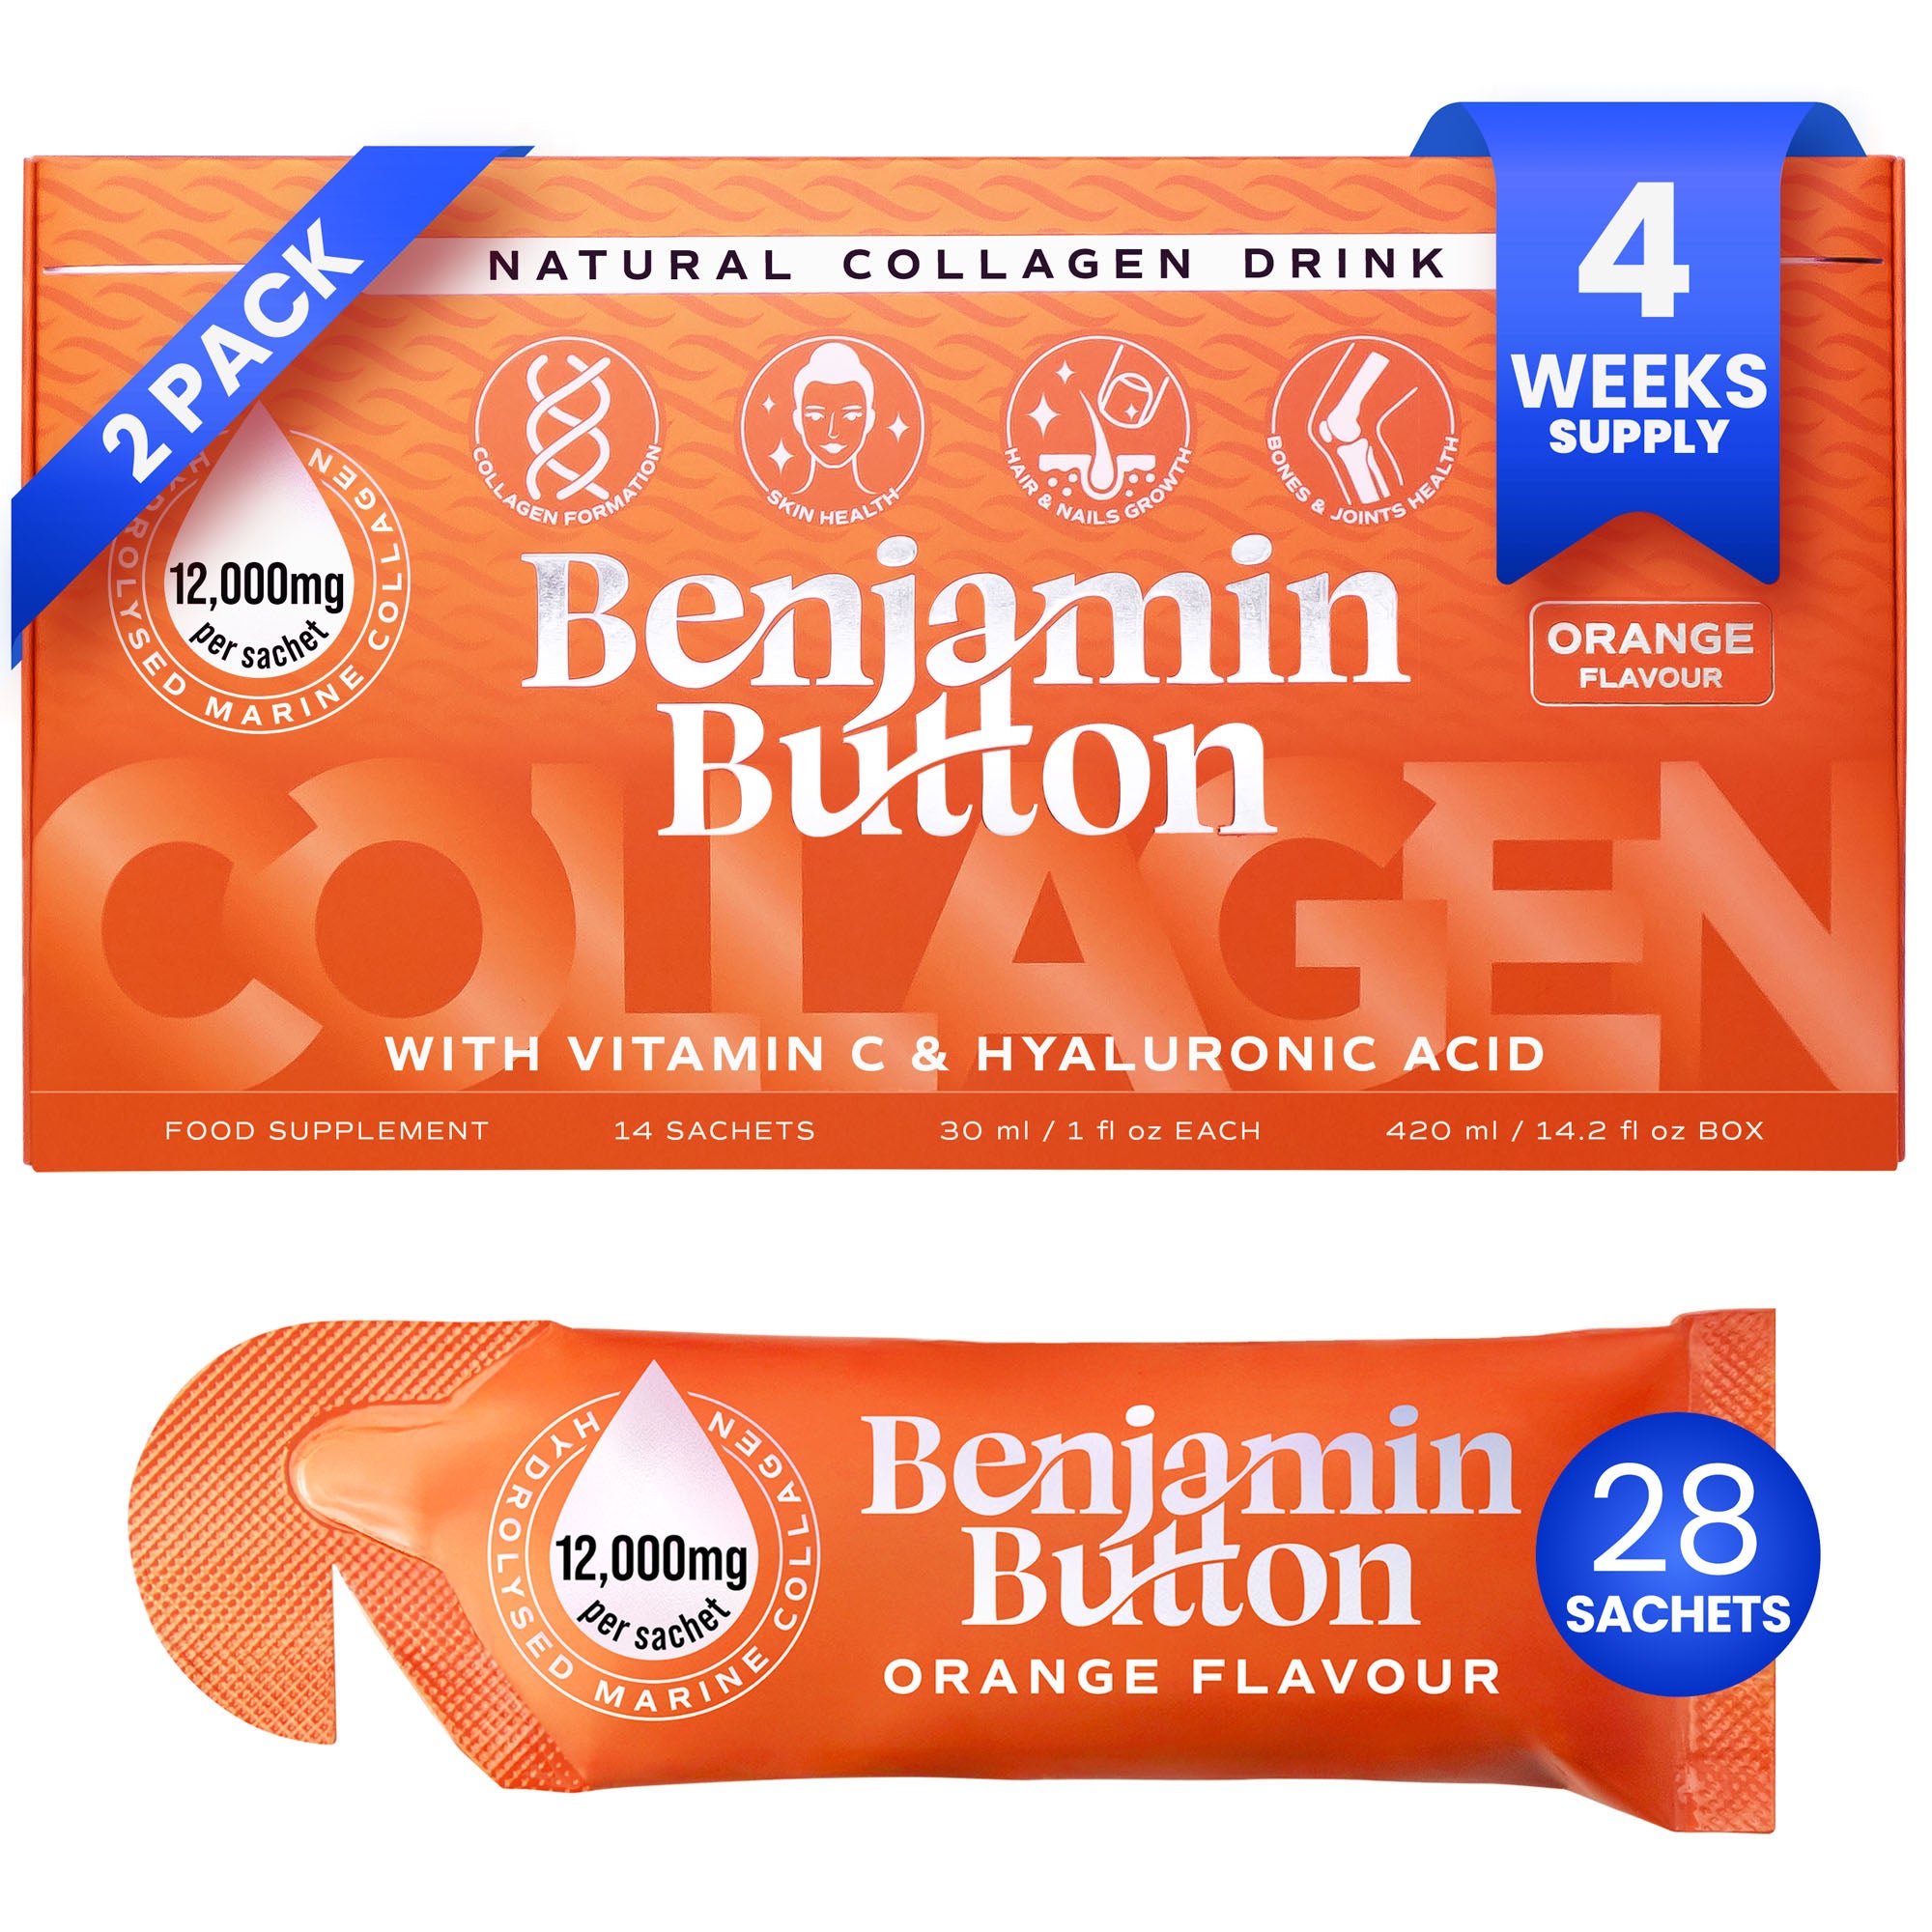
The Power of UV Light in Nail Art
Understanding the role of UV light in curing gel nails is essential. Unlike traditional nail polishes, gel polishes require a specific type of light to harden and solidify properly. This is where a good UV lamp shines—as it ensures that the gel adheres impeccably to the nail and lasts for weeks without chipping.What Makes the $40 Bestseller Stand Out?
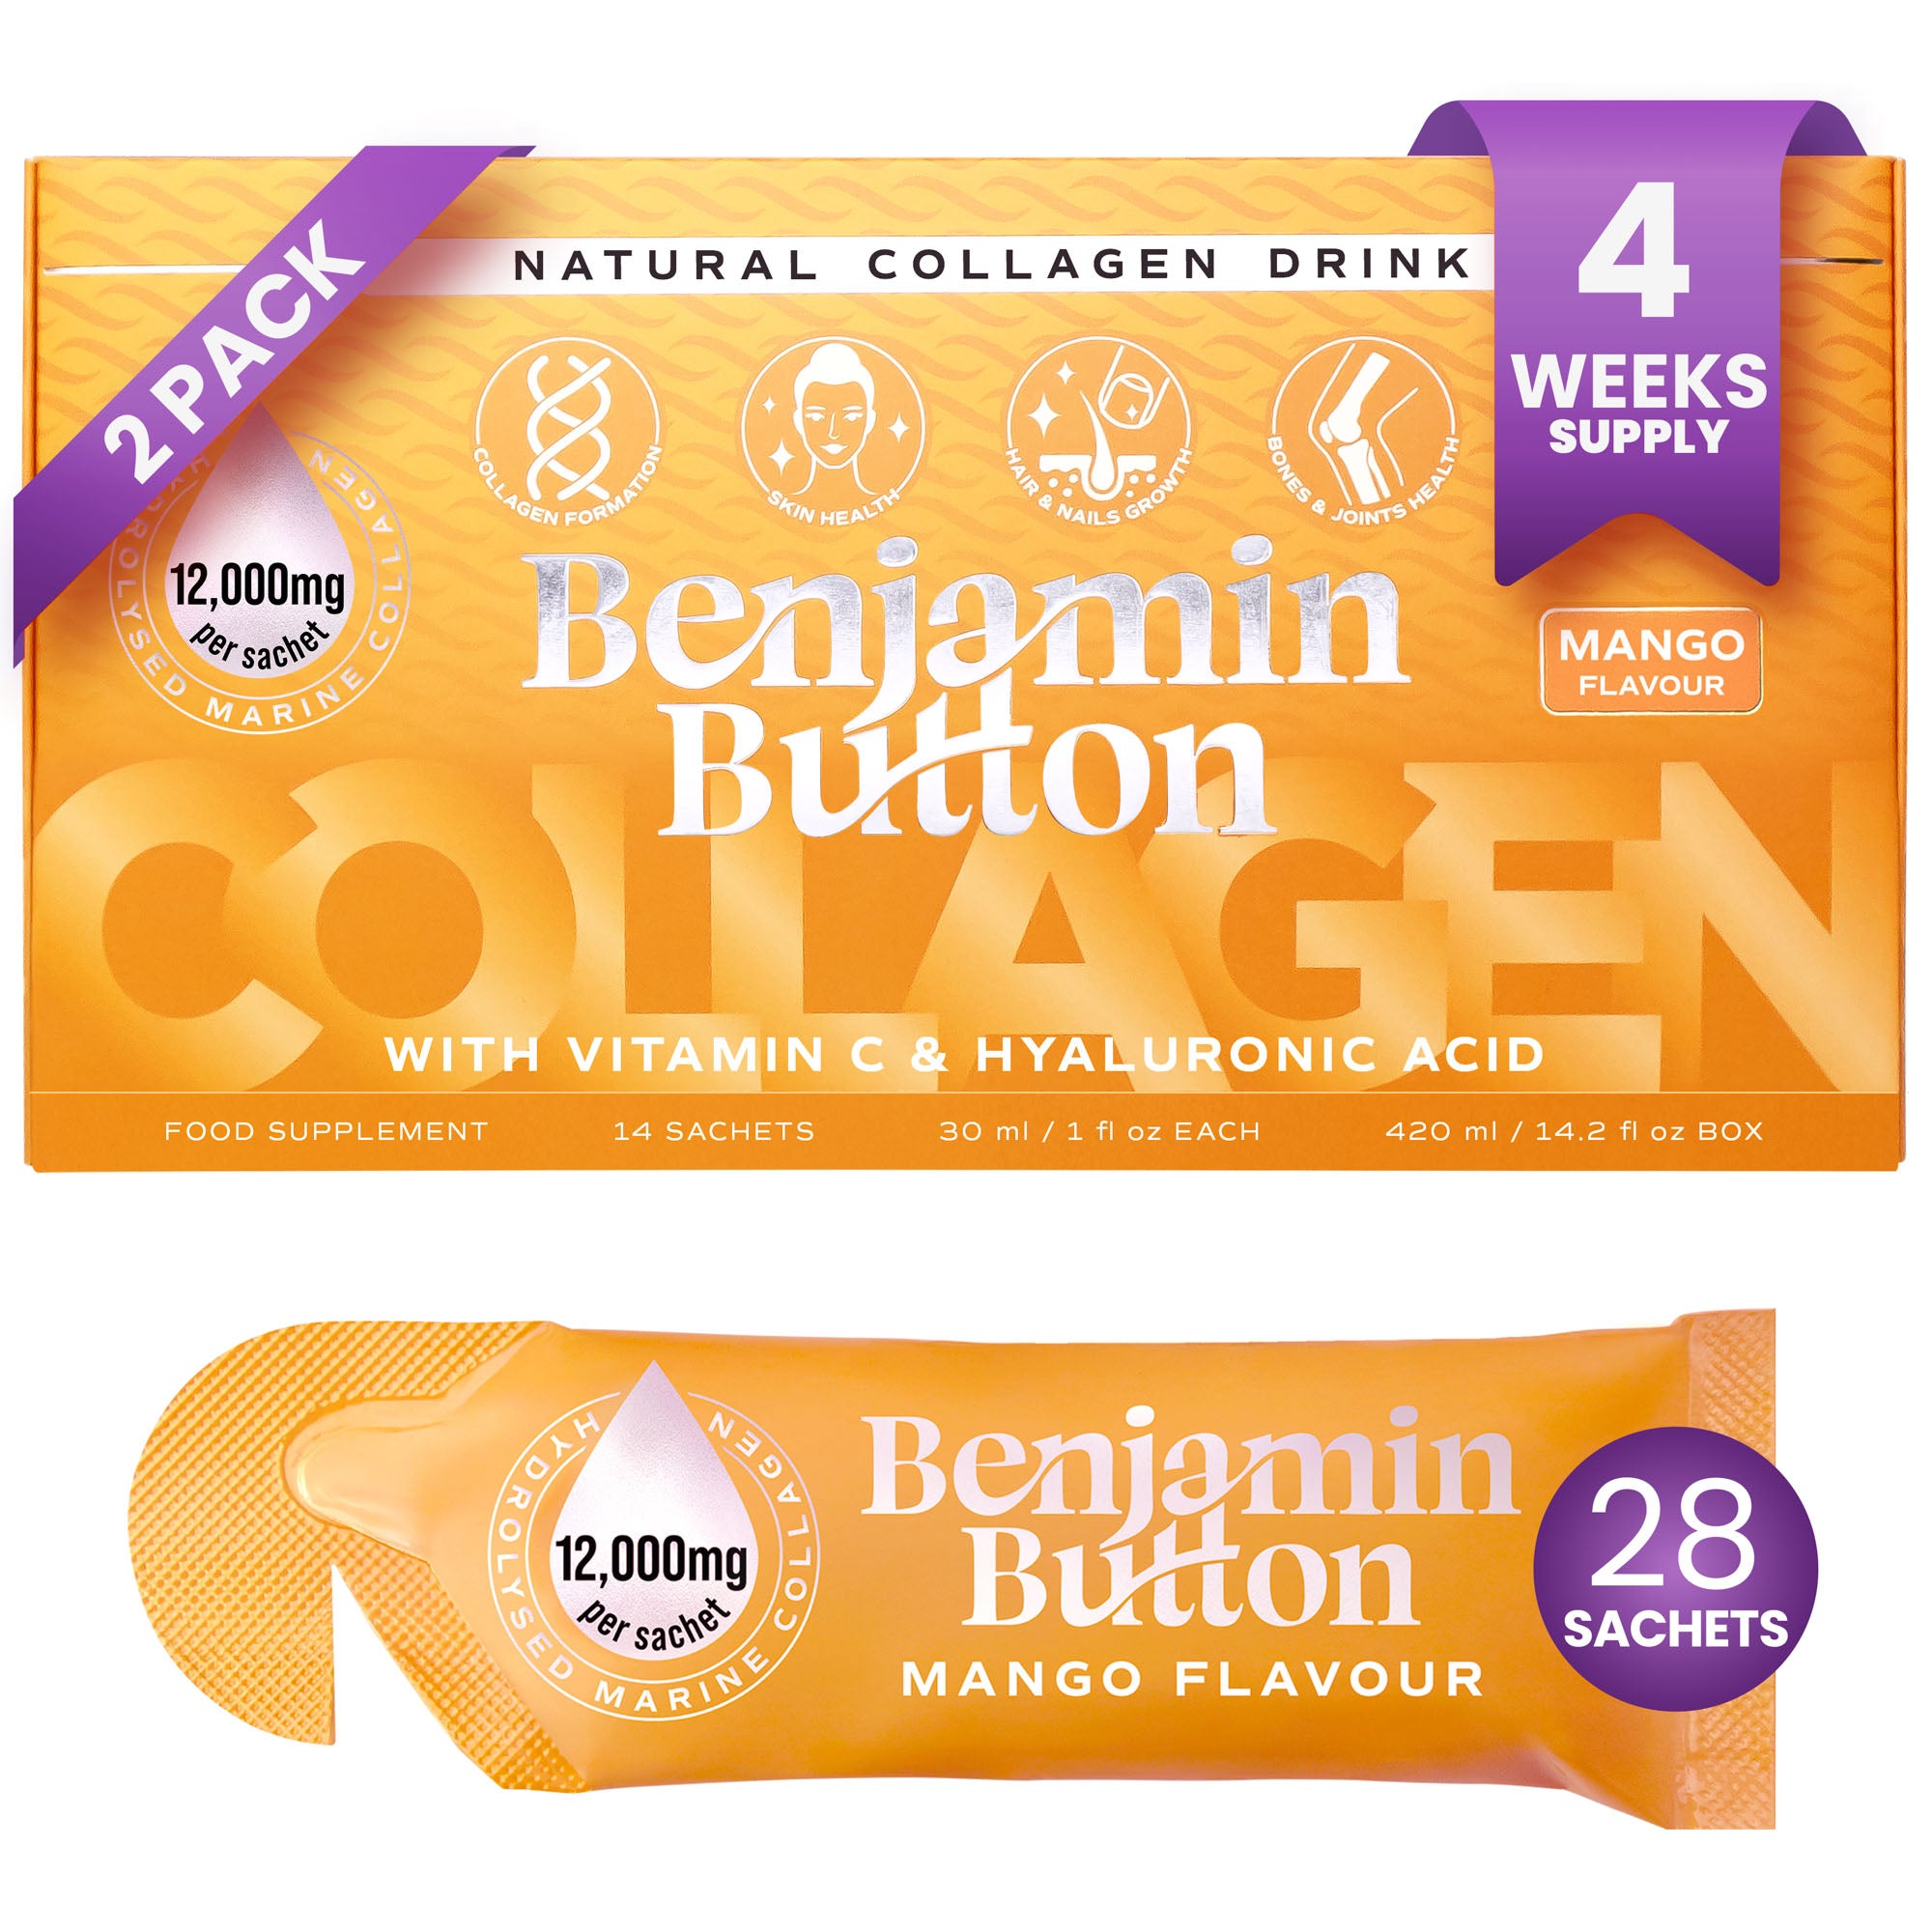
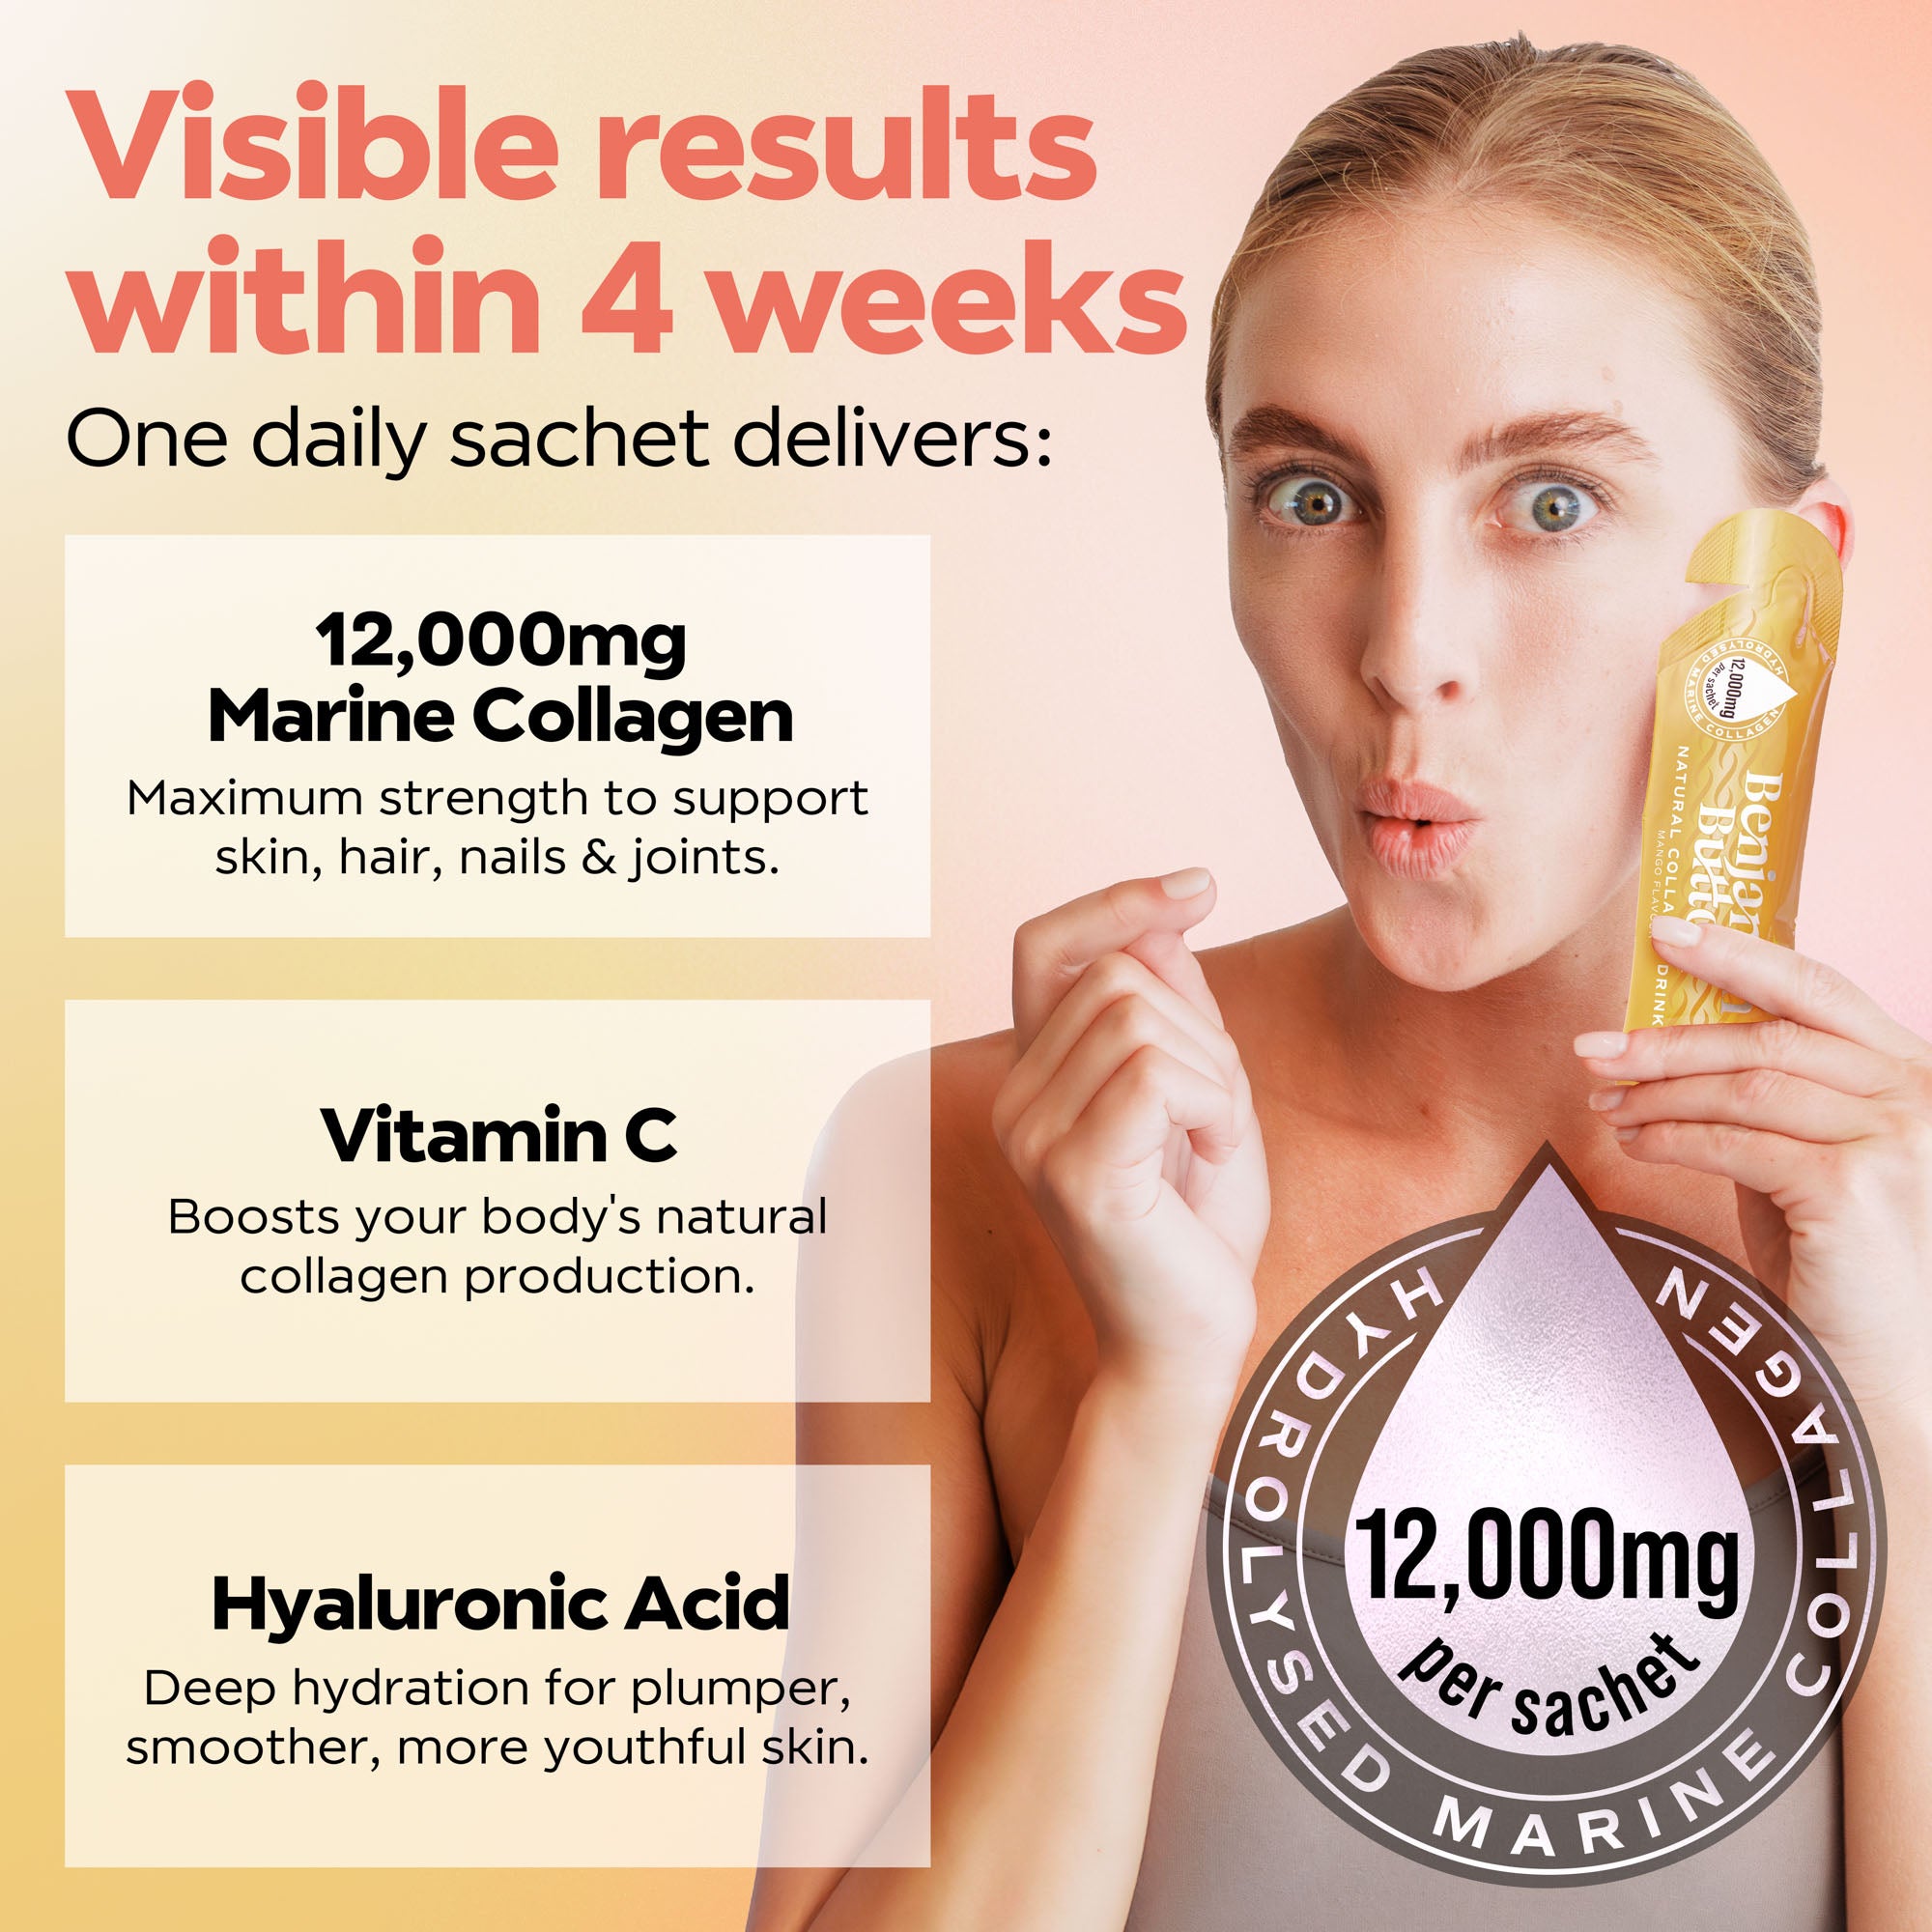
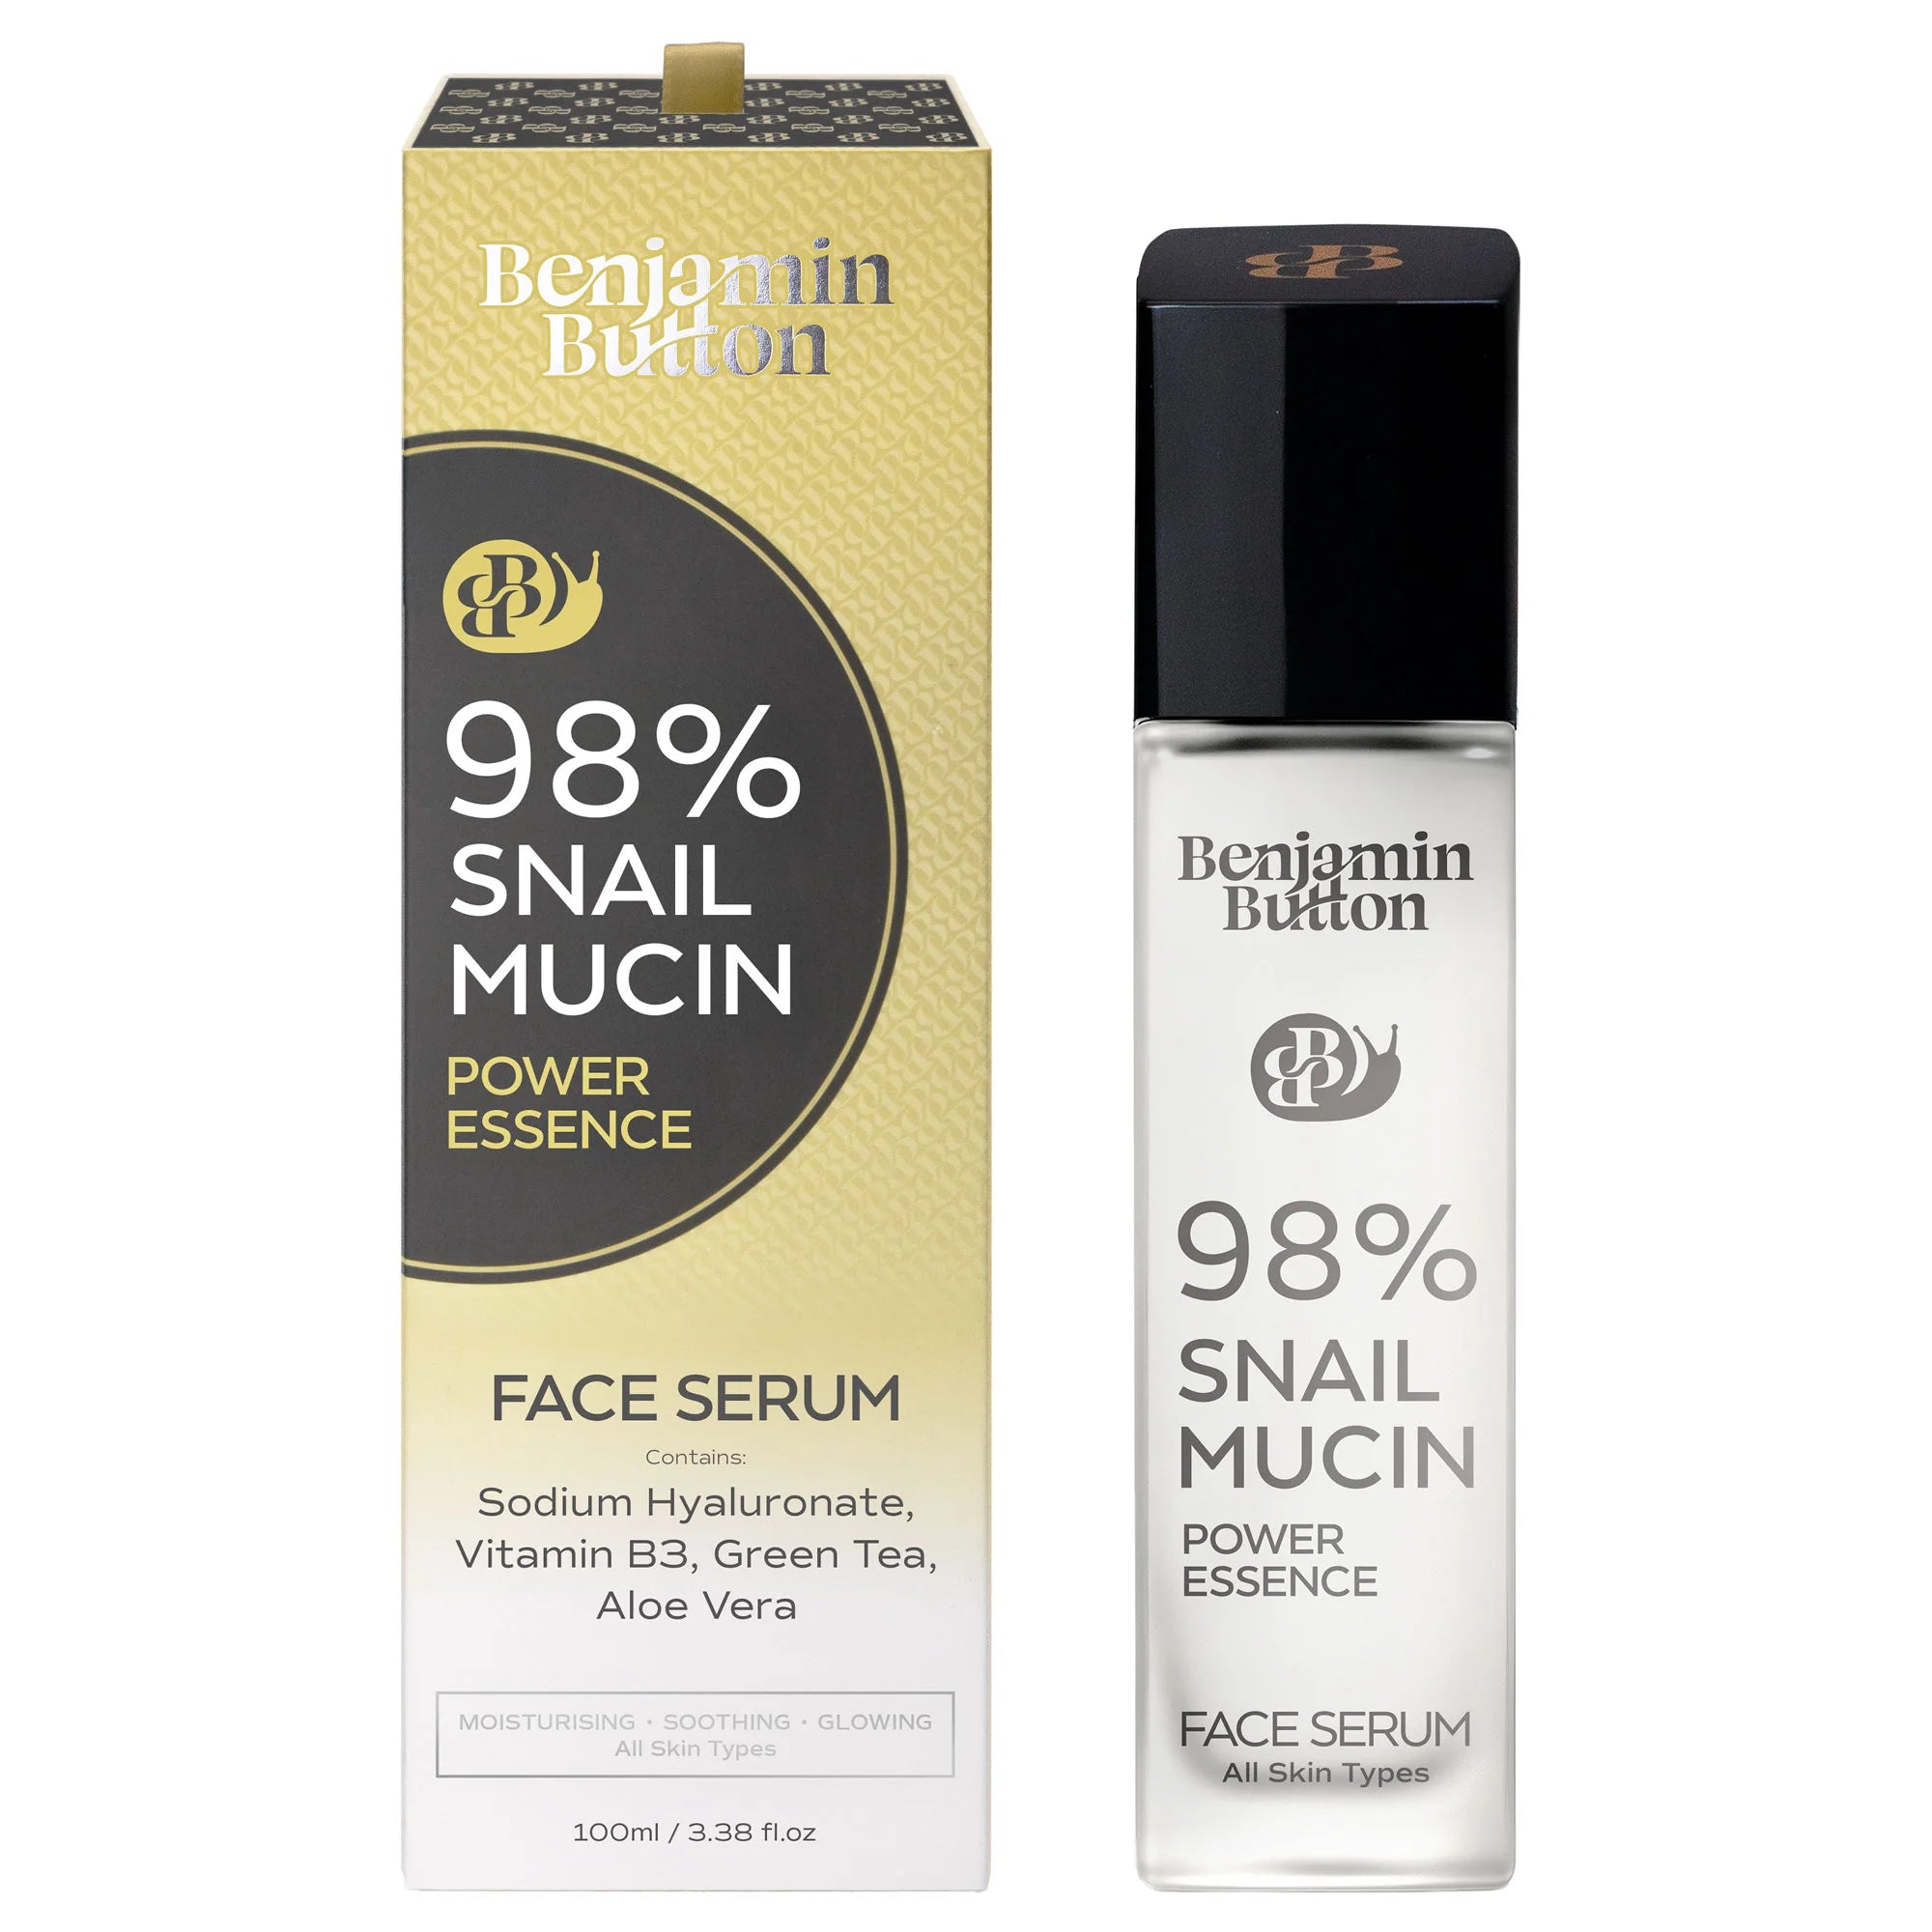
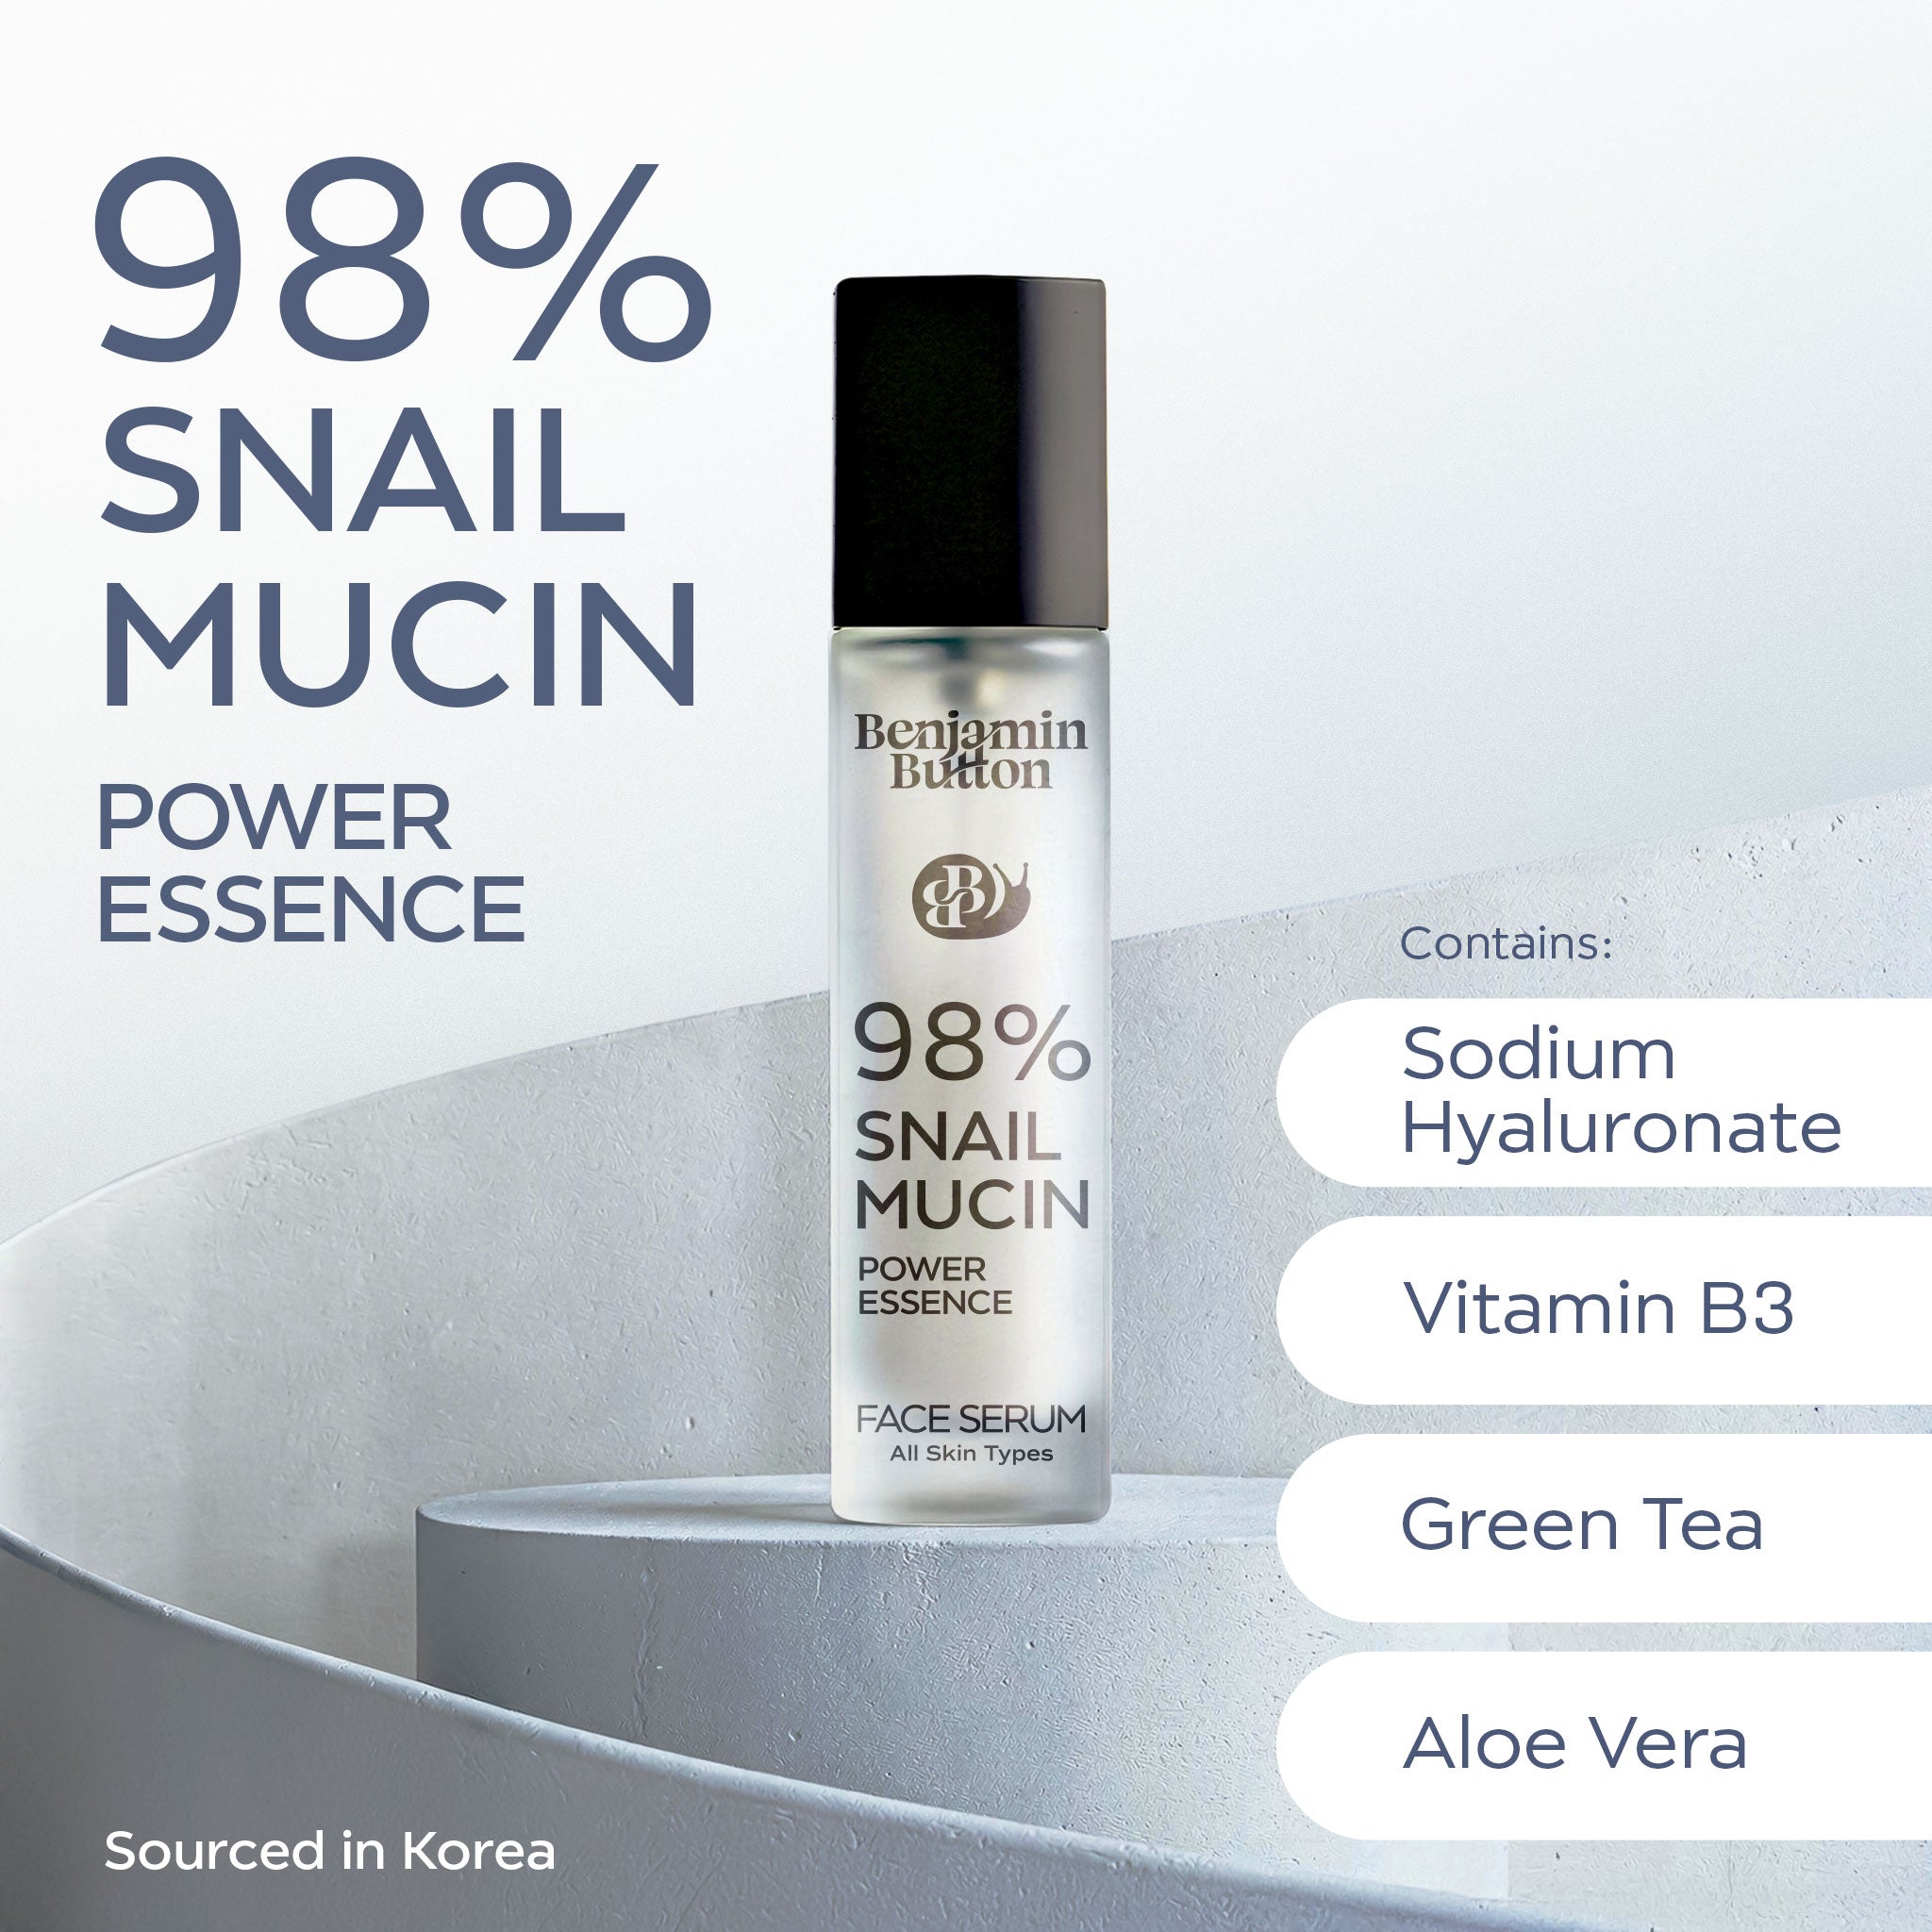
Many UV lamps flood the market, but this particular model has established itself as a bestseller for several reasons:- Affordability: At just $40, this lamp makes gel nails accessible to everyone without compromising quality.
- Efficiency: This lamp quickly cures gels, reducing the time you spend on each manicure.
- Ease of Use: Designed with beginners in mind, the lamp features a user-friendly interface.
- Compact Design: Its lightweight nature and small footprint make it easy to store and travel with.
Key features that enhance the overall experience with this UV lamp include:
- Multiple Timer Settings: Many users appreciate the option to customise their curing time, thereby preventing overexposure.
- Auto Sensor: The lamp automatically turns on and off when hands are placed inside, making the process even smoother.
- Durability: Users have found this lamp to be robust, capable of withstanding regular use.
How Does This Compare to Benjamin Button?
While Benjamin Button primarily refers to a fascinating narrative of aging in reverse, in this context, we can draw an intriguing comparison to those who might choose more expensive options in the beauty market. The beauty industry is rife with brands that claim to provide the best equipment, often at a premium price. But what the $40 bestseller teaches us is that you do not always have to invest heavily to achieve fabulous results.The Benjamin Button Effect
This UV lamp embodies the very essence of the Benjamin Button philosophy, beating the odds of costly alternatives. Just as Benjamin Button defies traditional expectations of ageing gracefully, this lamp defies the expectation that superior products must come with a hefty price tag. Here’s how it compares to pricier competitors:- Cost Efficiency: Unlike competing brands that often retail for over $100, this lamp achieves professional-level results without the financial strain.
- Lasting Performance: Users report long-lasting performance and results that rival those of much pricier models.
- Accessible for Everyone: The design and functionality focus on a broad audience, making beautiful nails available to all.
Achieving Perfect Gel Nails at Home
Now that we’ve established the importance of a quality UV lamp, let’s talk about the process of mastering your gel nails at home. Here’s a step-by-step guide to getting it just right:Step 1: Prepare Your Nails
Preparation is the foundation of a successful gel manicure:- Start with clean nails, ensuring they are free of any old polish.
- File your nails to your desired shape and gently push back cuticles.
- Buff the surface of your nails to help the gel adhere better.
- Avoid anything greasy or oily, as this can prevent the gel from curing properly.
Step 2: Apply Gel Base Coat
After preparing your nails, apply a gel base coat evenly, making sure to cover the entire nail, but avoid the cuticles. Curing is the next vital step:- Place your hand under the UV lamp – follow the manufacturer’s recommended curing time.
- Check that the nail is completely dry before moving on to the next step.
Step 3: Colour Application
Next, apply your chosen gel colour:- Use thin layers for a more polished look and to ensure full curing.
- Again, cure under the UV lamp for the specified time.
- Repeat until you achieve the desired opacity.
Step 4: Top Coat and Final Curing
Conclude your manicure with a gel top coat to seal in the colour and add shine:- Apply as you did the colour, making sure to cover all edges.
- Cure adequately, ensuring your nails are finished to perfection.